Paper Bag Kite
What You’ll Need:
- Paper lunch bag
- Markers or crayons
- Items to decorate your kite (stickers, washi tape, gems, etc.)
- Glue stick
- Twine or strong string
- Popsicle stick
- Scissors
- Tape
- Crepe paper streamers
Instructions:
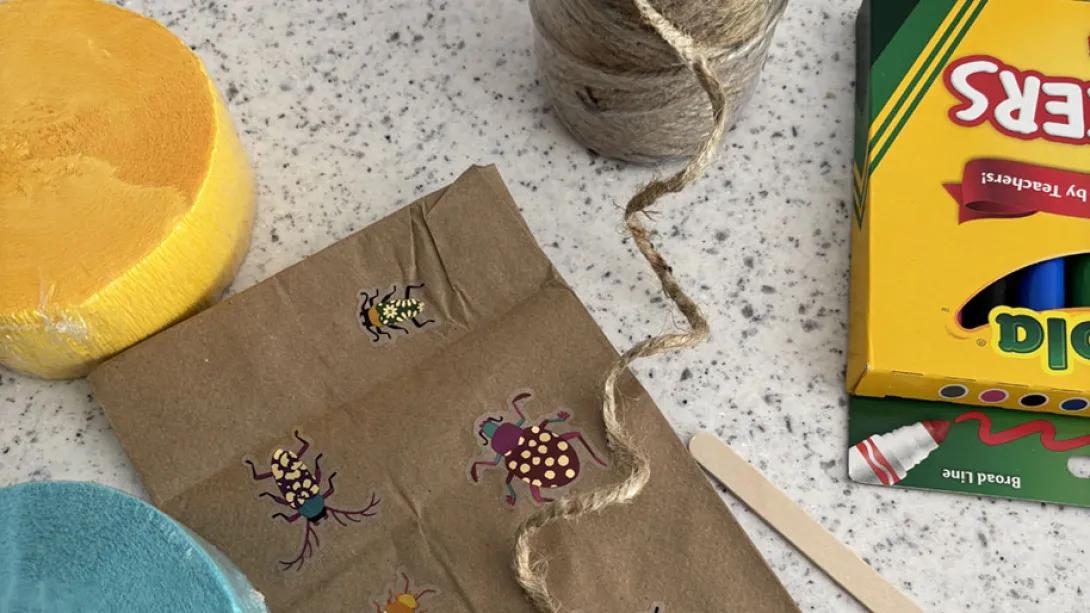
Step 1: Start by decorating all four sides of your paper lunch bag! Use markers, crayons, and add any of your embellishments, such as stickers or washi tape. Just be careful not to use too many decorative items, as they may weigh your kite down!
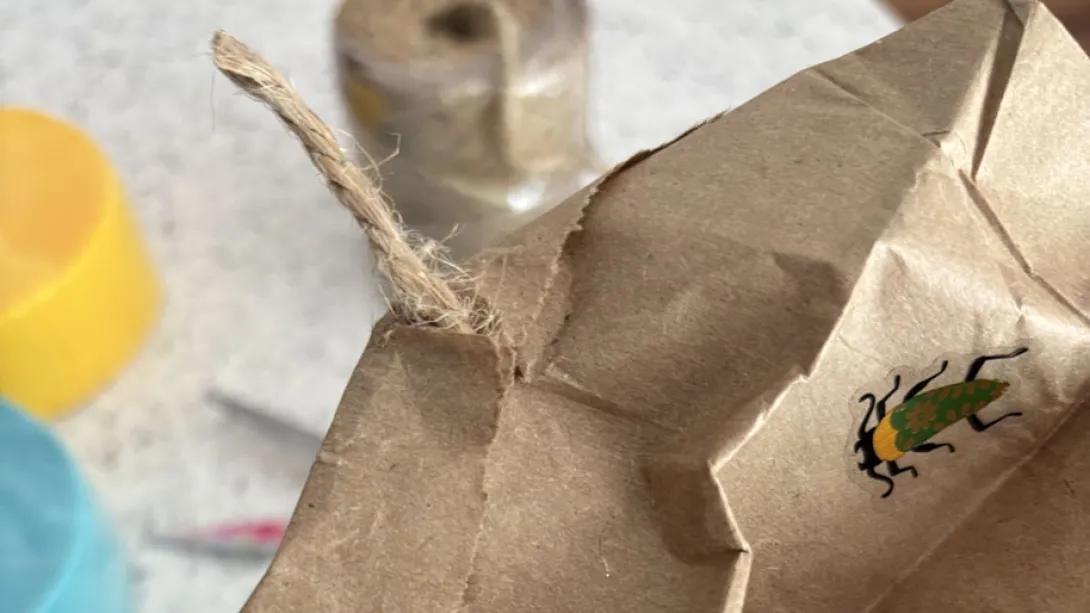
- Step 2: Use the scissors to cut a small hole (only the size for your twine to fit through) in the center of the bottom of the bag.
Step 3: Use the scissors to cut a piece of your twine 2 to 3 feet in length.
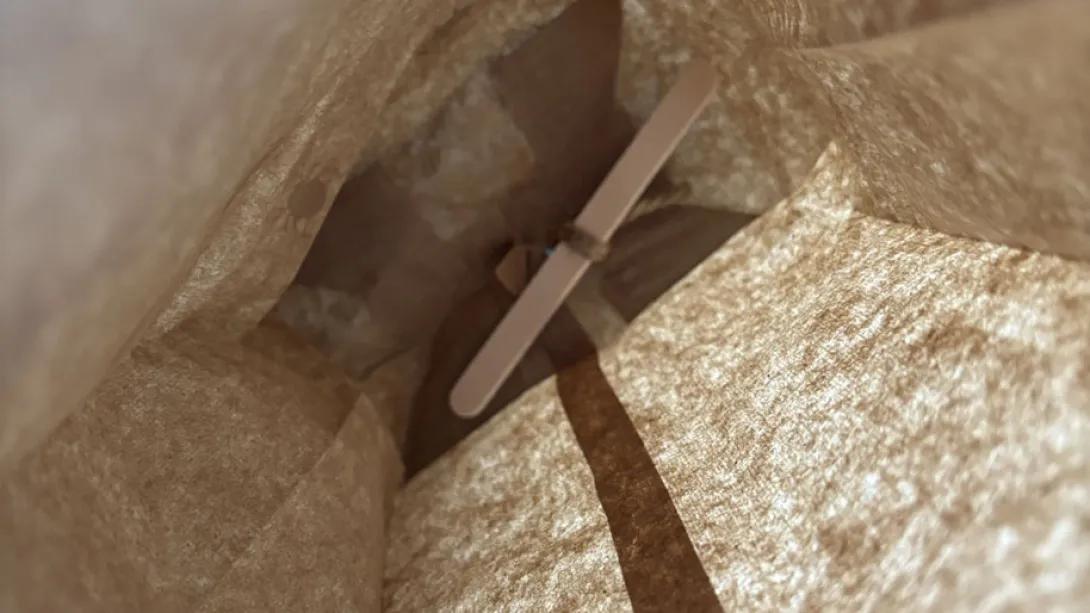
Step 4: Tie one end of your twine to the middle of the popsicle stick. Open the bag and go through the top of the bag to the bottom, feed the end of twine not connected to the popsicle stick through the hole you created in the bottom of the bag. The popsicle stick is there to help you from pulling the twine through the bag when your kite is flying.
- Step 5: Cut varying lengths of crepe paper and tape them around the inner open edge of the bag.
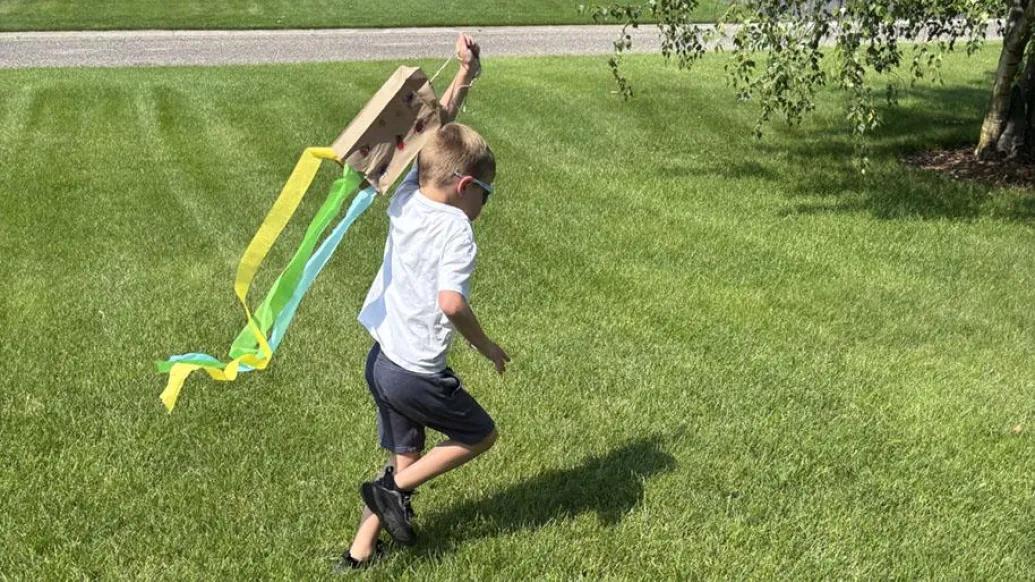
- Step 6: Make sure there’s a breeze or some nice gusts of wind! Head outside and hold the end of the twine. Lift your kite into the air. Create your own experiment to see what makes your kite fly the best, including walking, running, a super windy day, a light breeze, etc.
Find more Math & Science activities from Camp Little Victors

Camp Little Victors
Camp Little Victors brings the fun of summer camp home, with easy, engaging activities for children and families.
Featured News & Stories
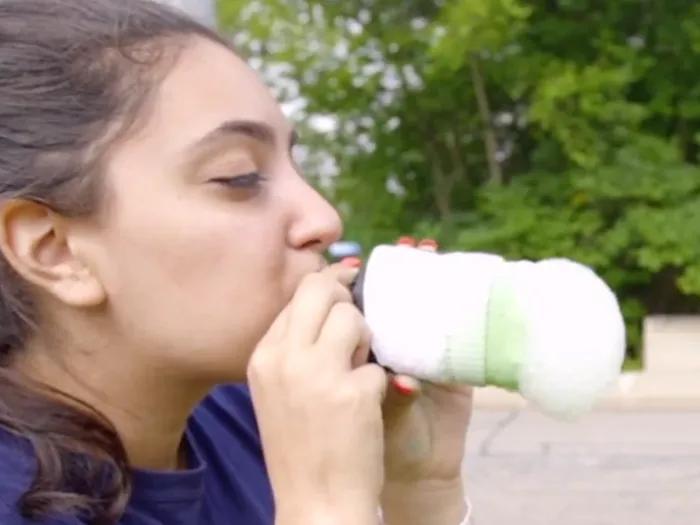
Bubble Snakes
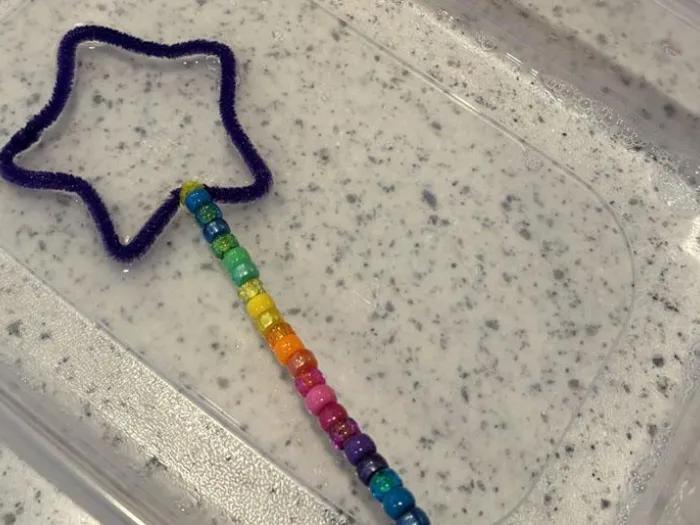
Bubble Wands
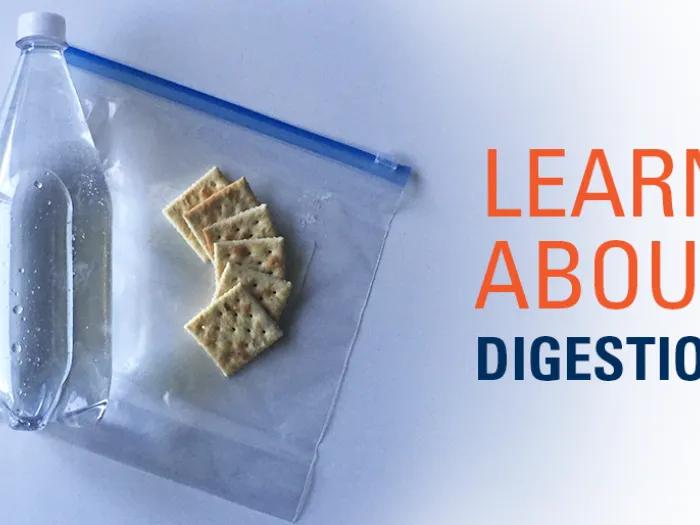
DIY Digestion Activity
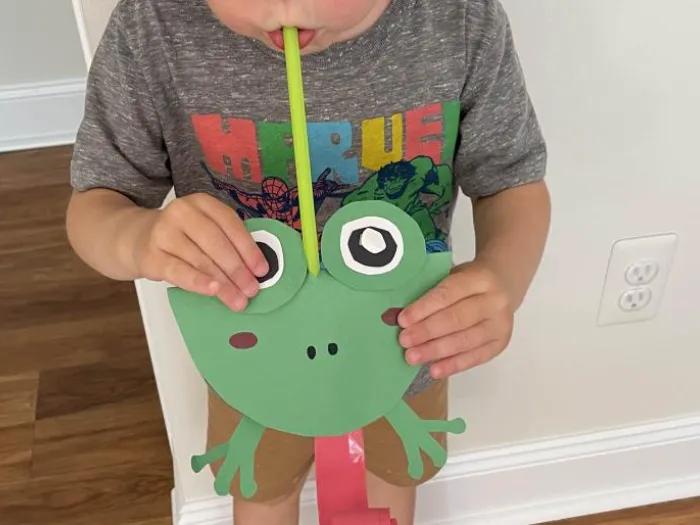
Celebration Frog
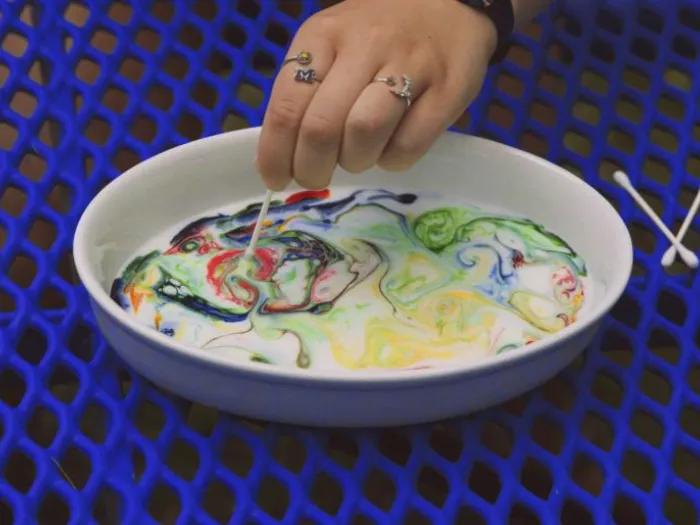
Color-Swirling Milk Experiment
